Drop

Over the past weekend, I was in Costa Rica for a good friends wedding. As I was catching up with buddies I hadn't seen in a while, an awesome story was shared. My friend John described a party he was invited to during the earlier part of his trip in Costa Rica. They were all shot a text message with longitude and latitude coordinates and a time to meet. Even though my mind immediately went to "murder mystery", I found that idea quite fun. It gave a sense of secrecy. So I figured, why not, let me see if I can make a little demo over the weekend.
The idea is pretty simple:
- Give the user ability to search for a place of interest
- Get the coordinates
- Store and share
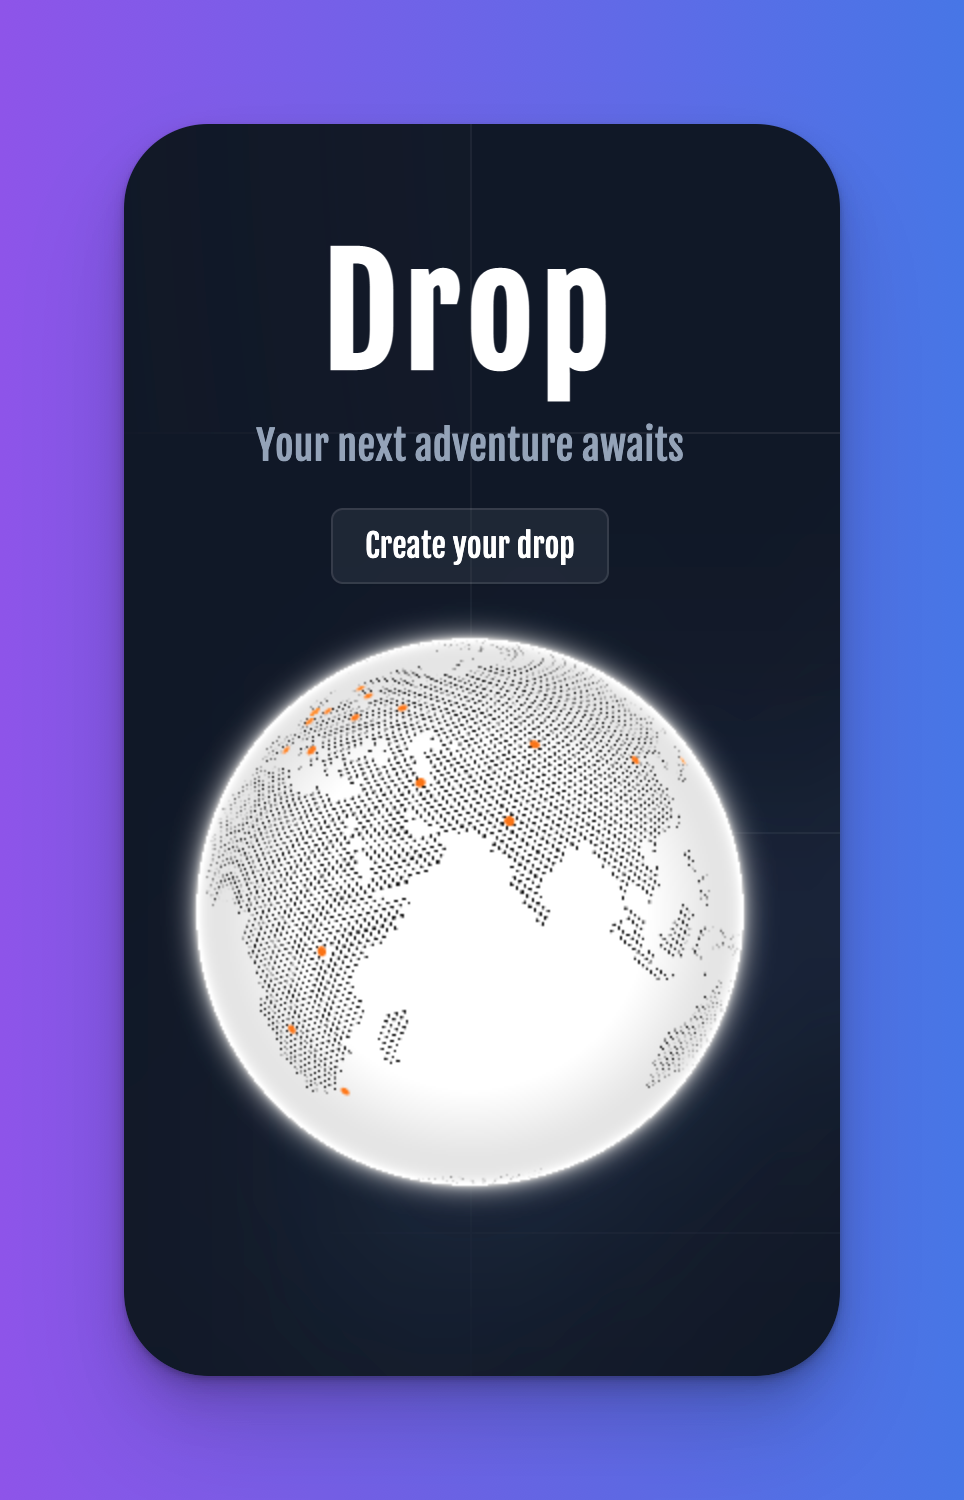
When you land on the site you are greated with a pretty minimalistic page. A CTA and a map (generously created by the man himself @steventey's dub.sh project). Currently, the dots on the map are static, but could be easily turned dynamic and read from Upstash in a future version.

Once you click on "Create your drop", you are taken to the meat and potatoes of the app. This is where a user can create a new drop. Powered by Mapbox's API, we allow the user to search for a place of interest. The code is rather simple:
export const queryPlaces = async (query: string): Promise<Array<Location>> => {
  const resp = await networking.get(`/${query}.json`, {
    params: {
      types: 'poi',
      access_token: process.env.NEXT_PUBLIC_MAPBOX_API,
    },
  })
  return resp.data.features
}
The one thing extra I did was create the typings of the location (I used this handy tool to help create types for lots of different languages).
Once the user selects a given location the rest of the page is rendered. You will see the POI's coordinates, a Mapbox with a marker, and an unlock time (this feature I still have not built but in theory will allow users to send out their link but none of the info is visible yet).
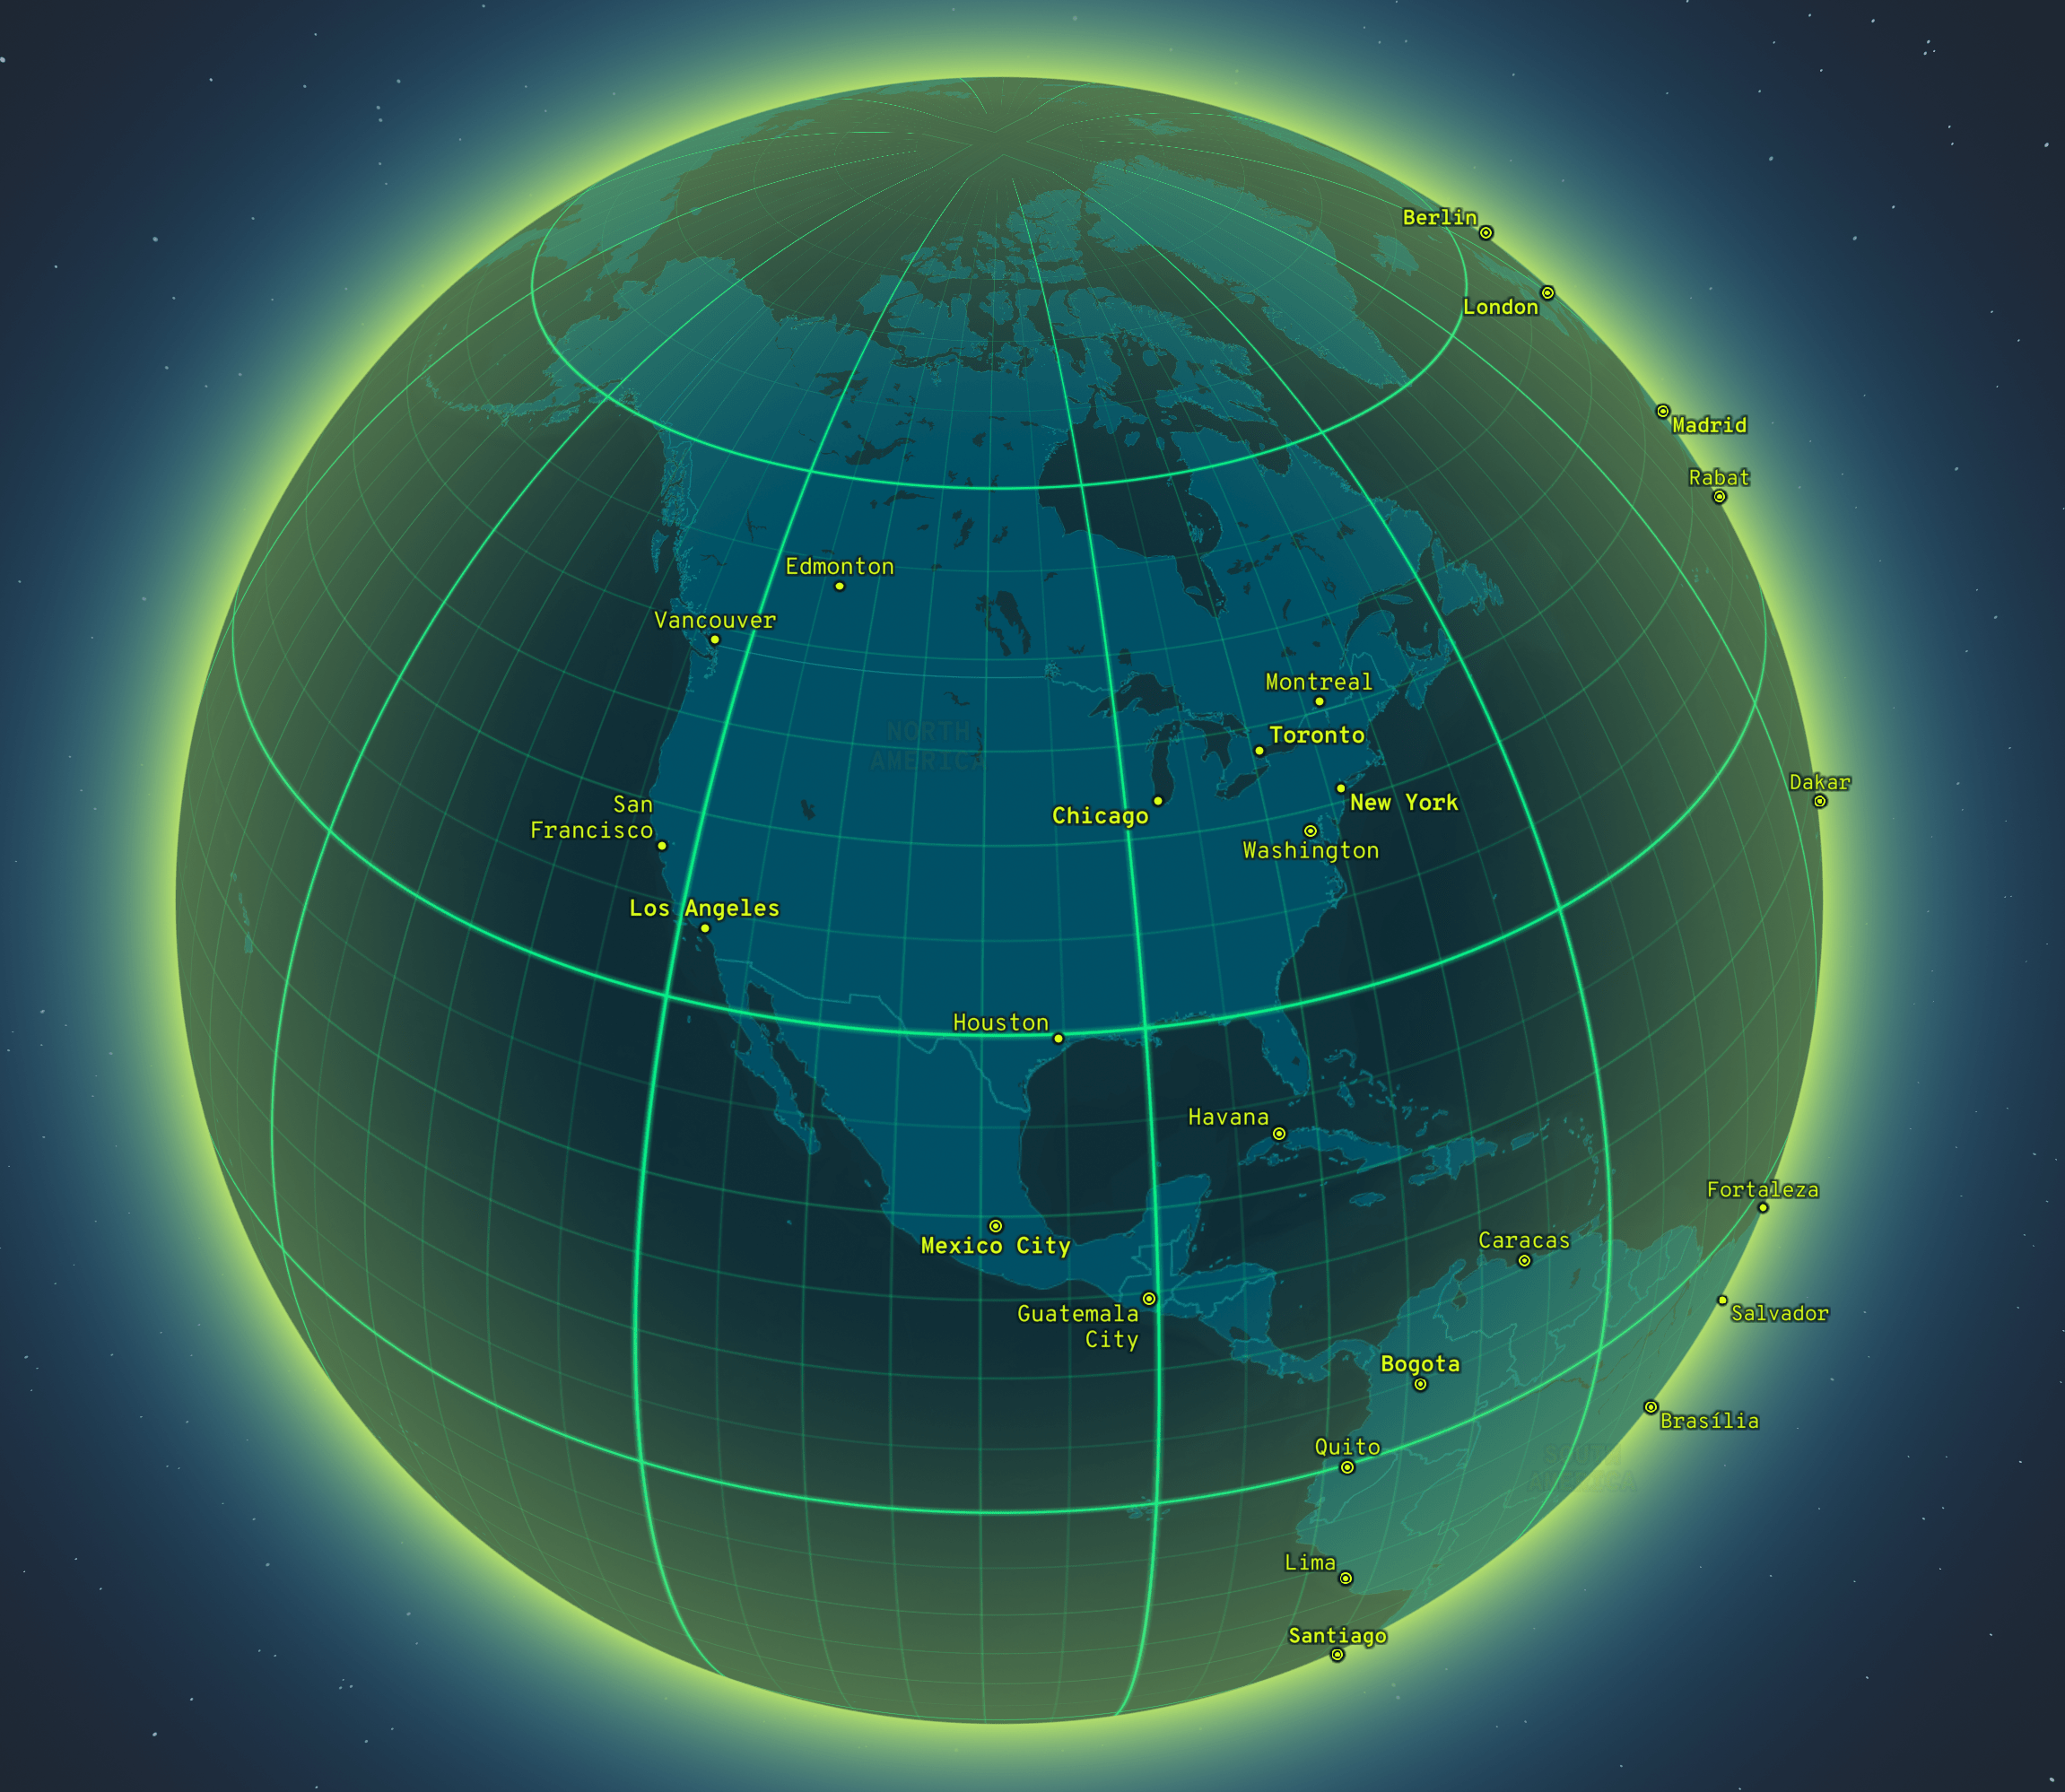
One really neat thing about Mapbox's maps is their ability to completely customize the look and feel. You can start with their gallery and then expand on a previously created "style". I chose the Neon glow by Taya Lavrinenko. It felt like it gave a darker, more secret-agent feel than the standard map style.

Now, once the user clicks "Submit drop" we send the locations payload (returned from Mapbox) to the backend. Here we are simply adding data to Upstash Redis as follows:
await redisClient.hmset(key, {
  views: 0,
  following: 0,
  location: JSON.stringify({ ...body.location }),
})
As you can see, we added two additional params: views and following. Views is pretty self explanetory and following would be used for when we build out the "unlock at" feature and allow people to get notified when the drop is available.
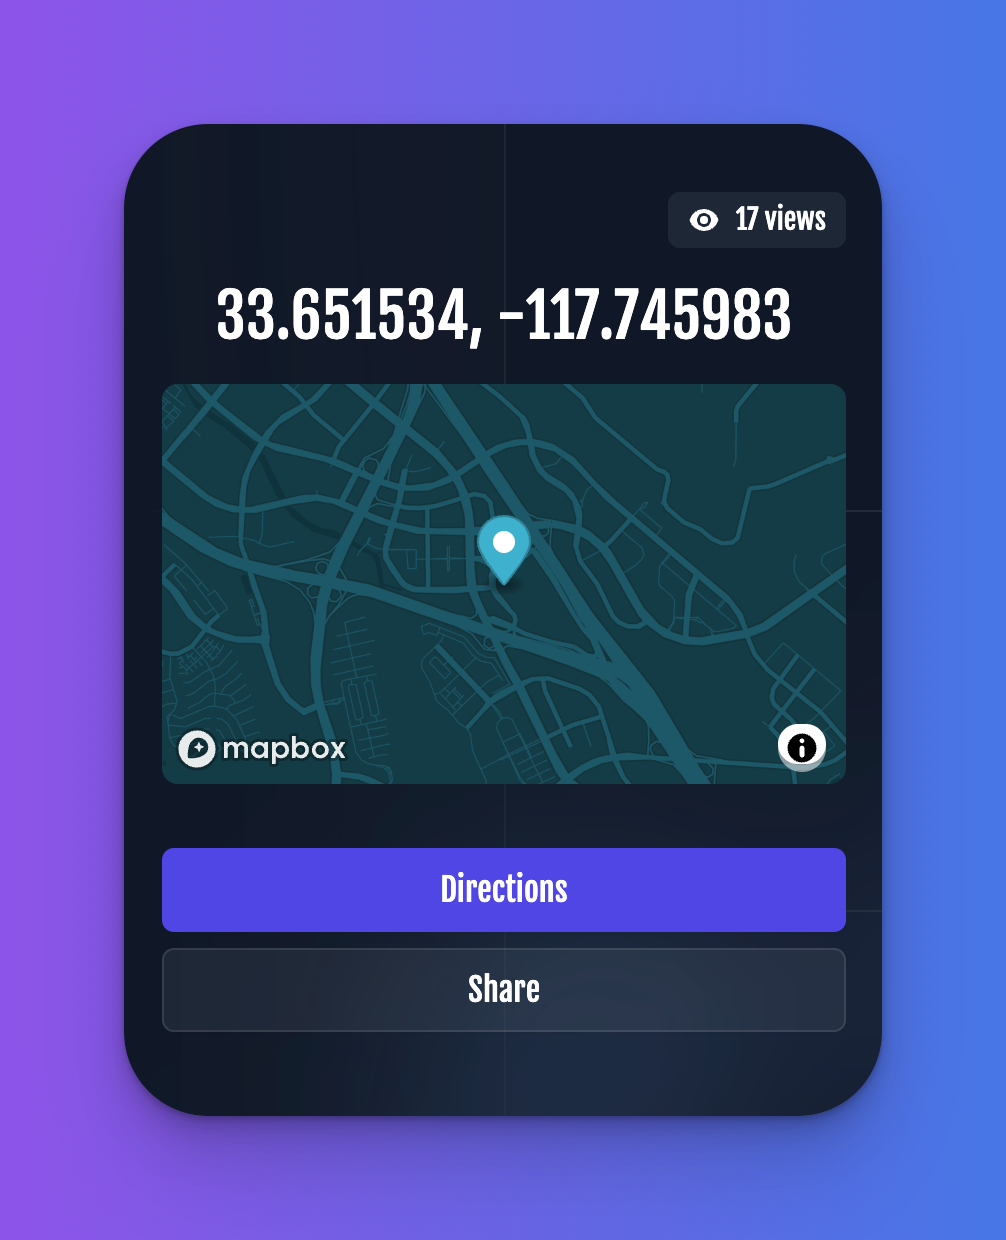
Once this call is complete, the user is taken to their public drop page where it simply shows: a view count, coordinates, a map, and some CTA's to get directions and share. You can see so here

This was my first time using Redis's increment by functionallity and I was pleasently surprised at how easy it was.
When we are in getServerSideProps from the public page, we simply tell Upstash Redis to increment the view count by 1:
// Update view count
await redisClient.hincrby(query, 'views', 1)
Now, whenever someone loads the page, the views on the Redis hash are being incremented by 1.
All in all, this was a fun project to churn out over the weekend based on a drunken story told by a friend on the beaches of Costa Rica.