Let's shorten those links

In hopes of trying some of the new and exciting serverless services that are coming out, such as Upstash, I figured it would be nice to spend a Sunday building a demo using the tools. Thinking of a particular use case for Redis was somewhat easy. I always want to shorten links before sending so I figured, why not, let's build a link shortner!
Let's dive in
First things first. Let's quickly spin up a new Next.js project:
npx create-next-app@latest --typescript
As I do with all my projects, I installed Tailwind
yarn add -D tailwindcss postcss autoprefixer
npx tailwindcss init -p
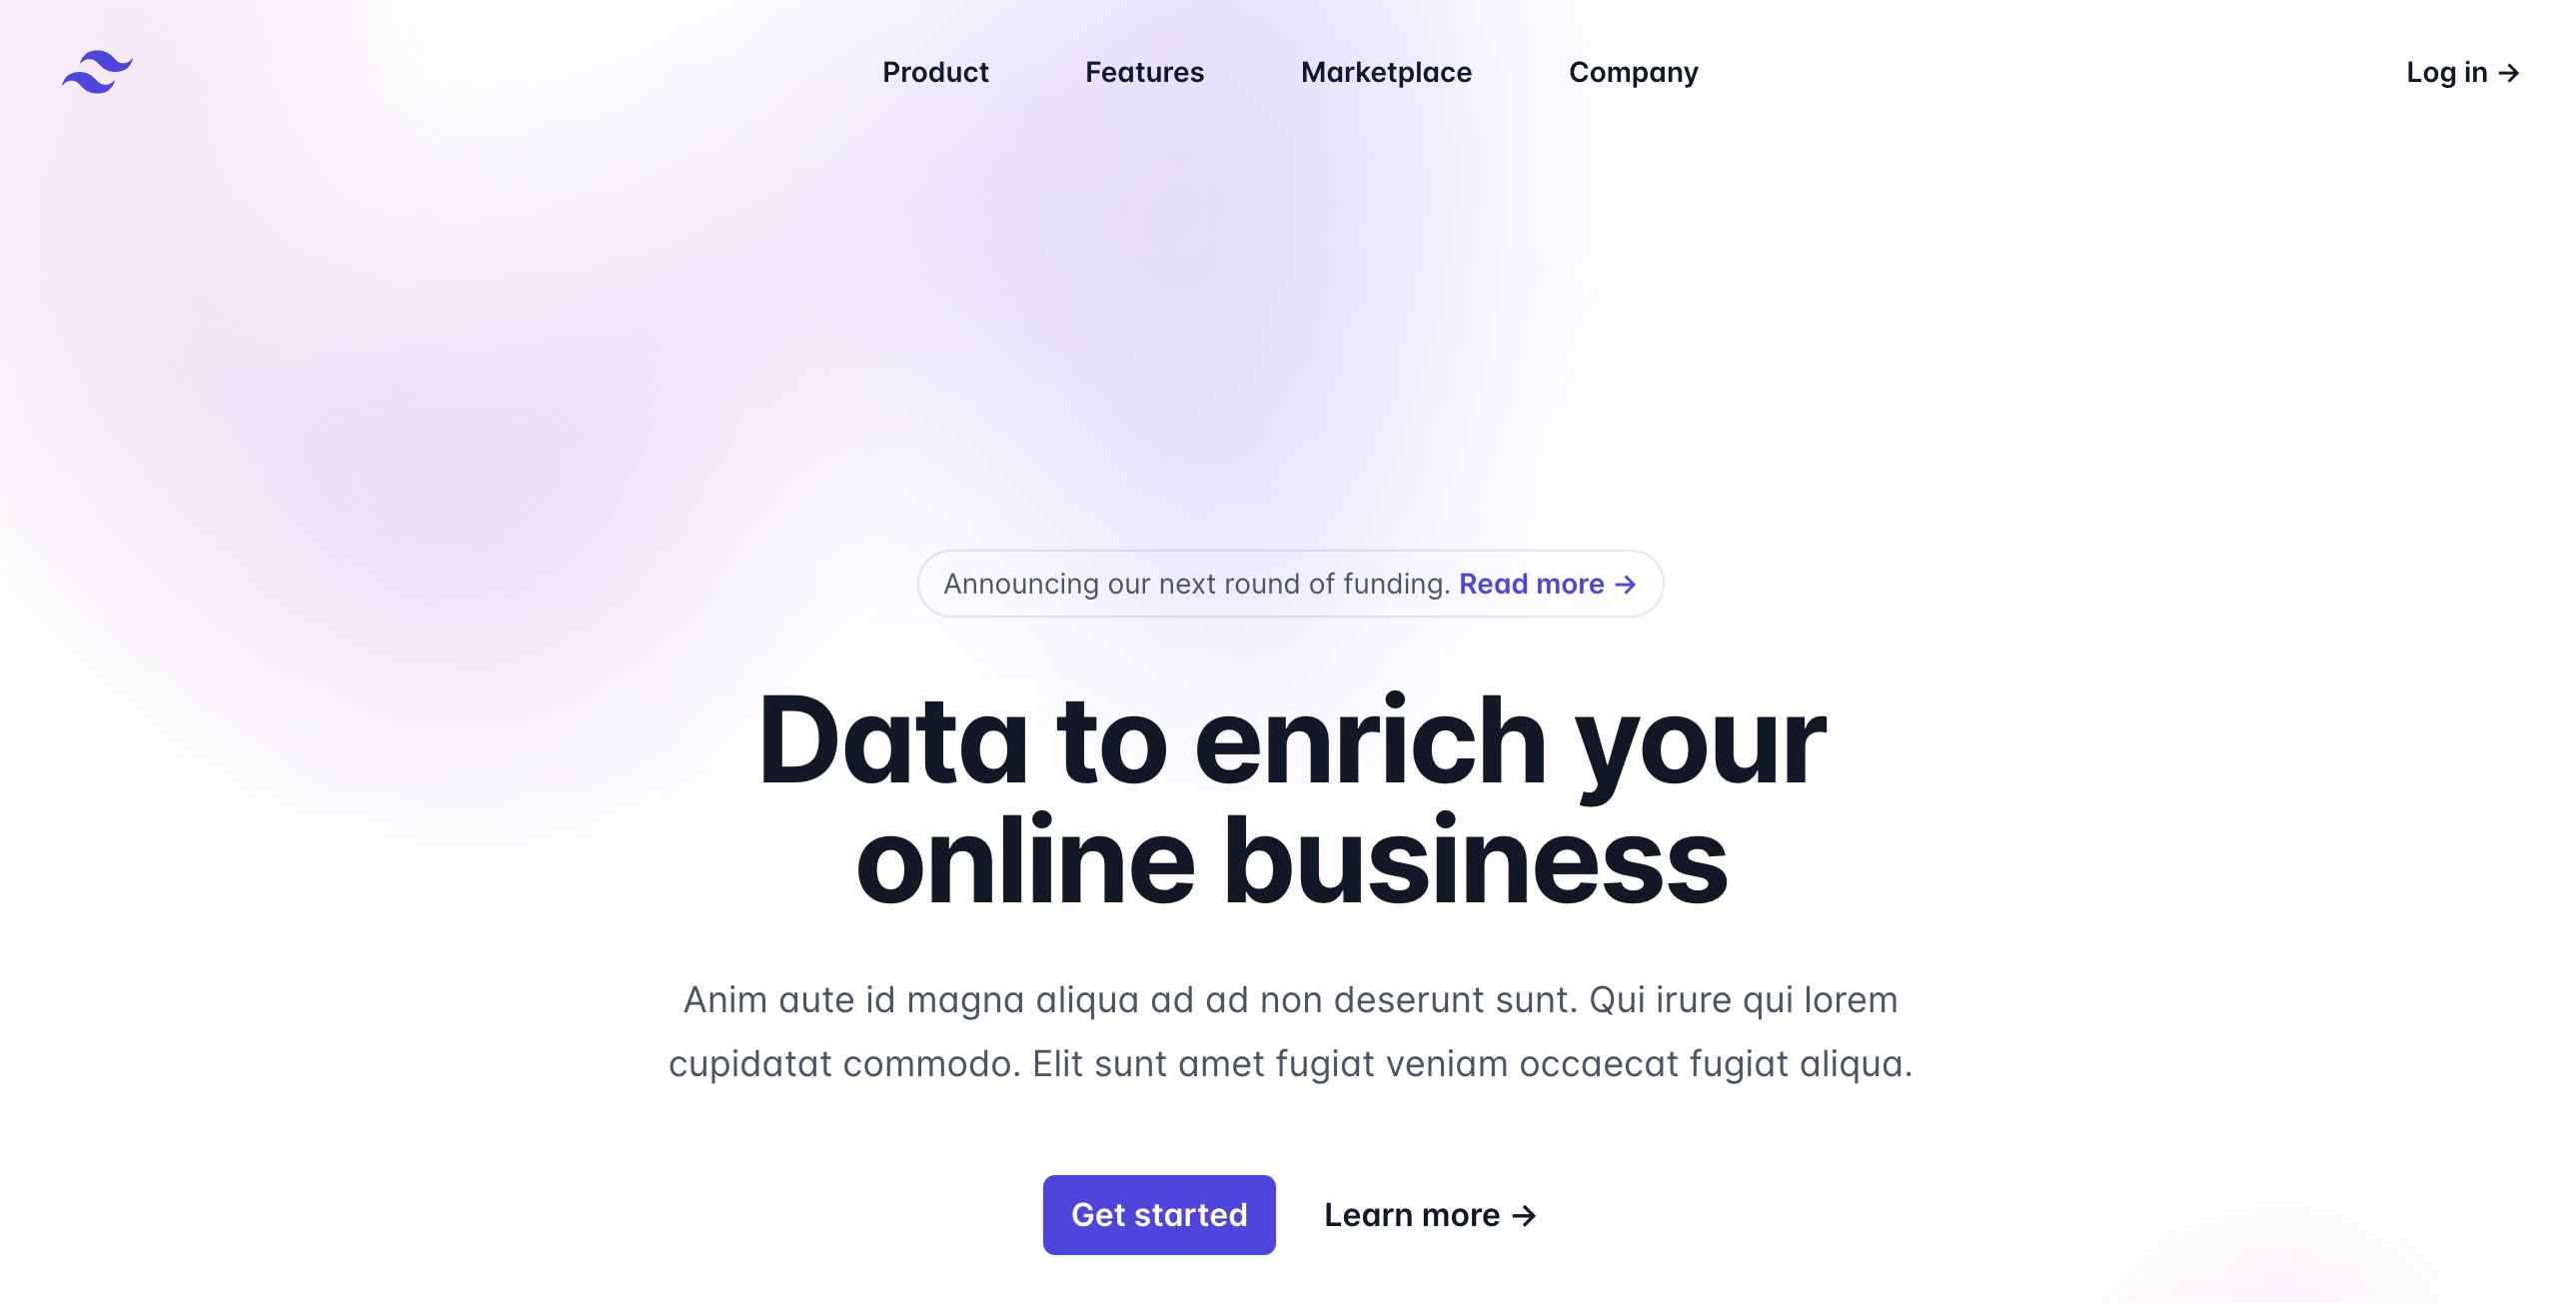
I'm a huge proponent of purchasing the TailwindUI kit because it gives easy to consume components that help tremendously with scaffolding out a project. I went ahead and picked a homepage that fit the feel I was going for and slapped it into the index.tsx which initially looked like this:

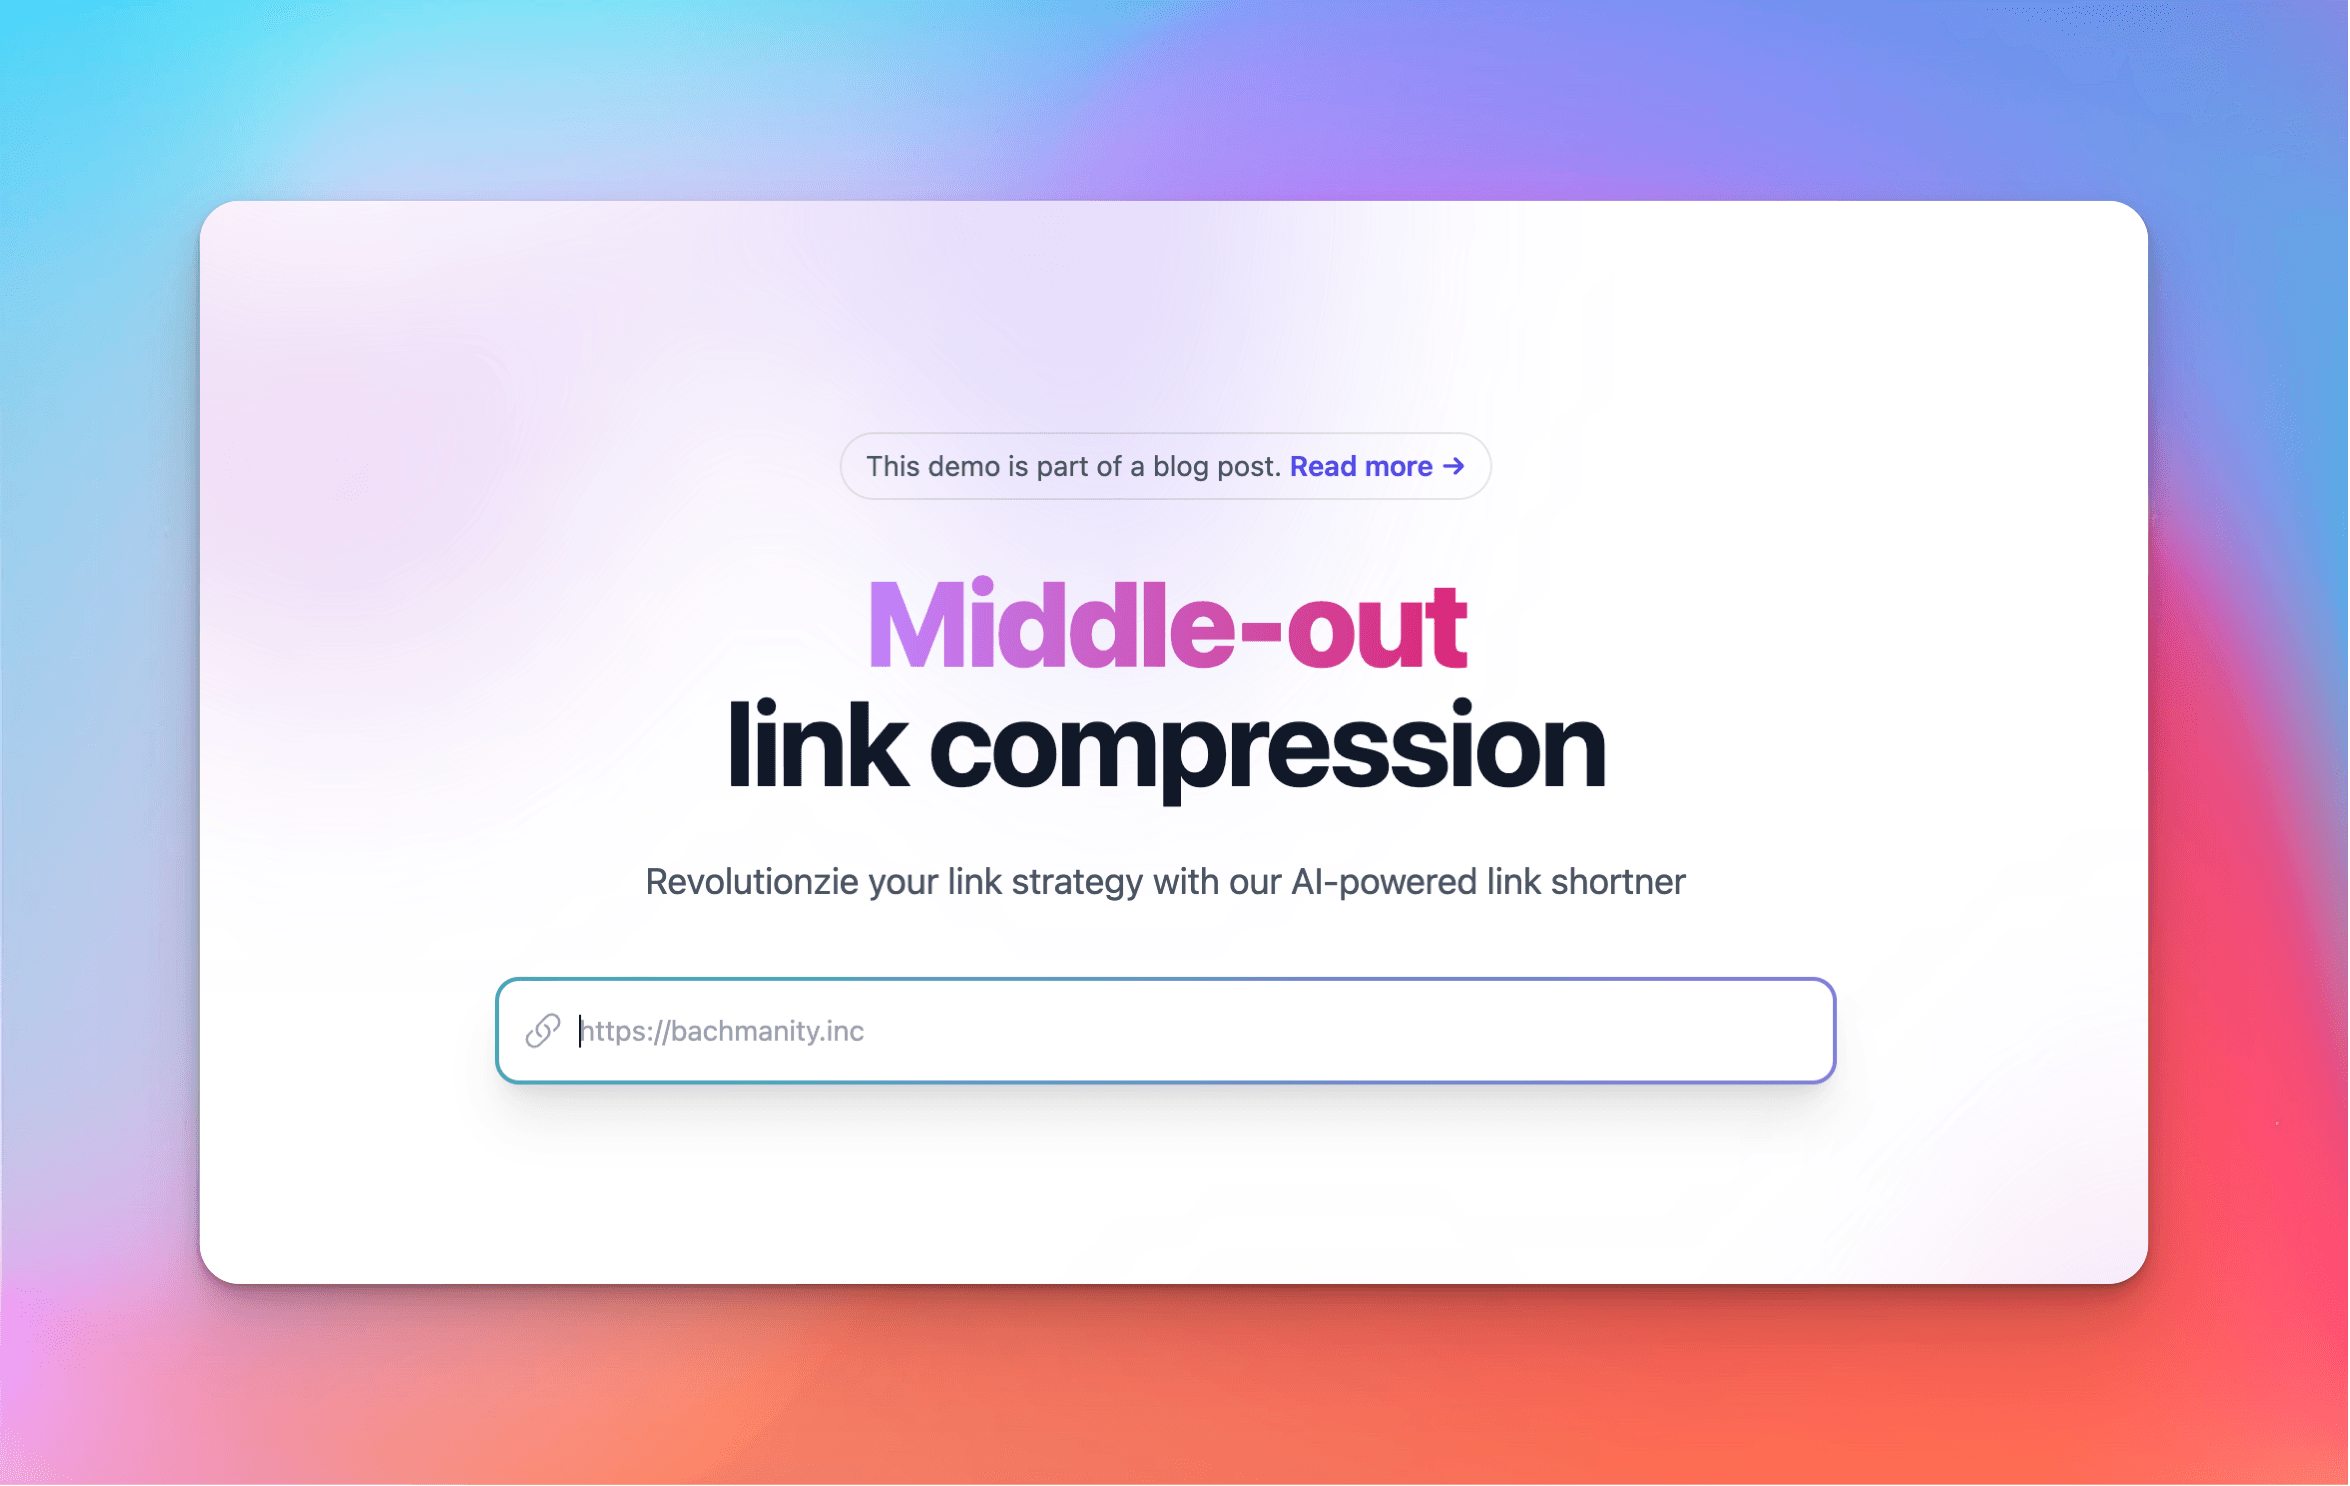
As a tip-of-the-hat to Silicon Valley, you can see the final version includes some references to our middle-out compression algorithm. In order to fire that up, we must pass along the link the user wants to shorten to the backend for processing.
Generate URL
In order to generate and store the URL, we created a Next.js API route which simply does the following:
- Generate a short, unique key
- Store in Upstash the short key and the desired full URL
- Returns the shortened link URL
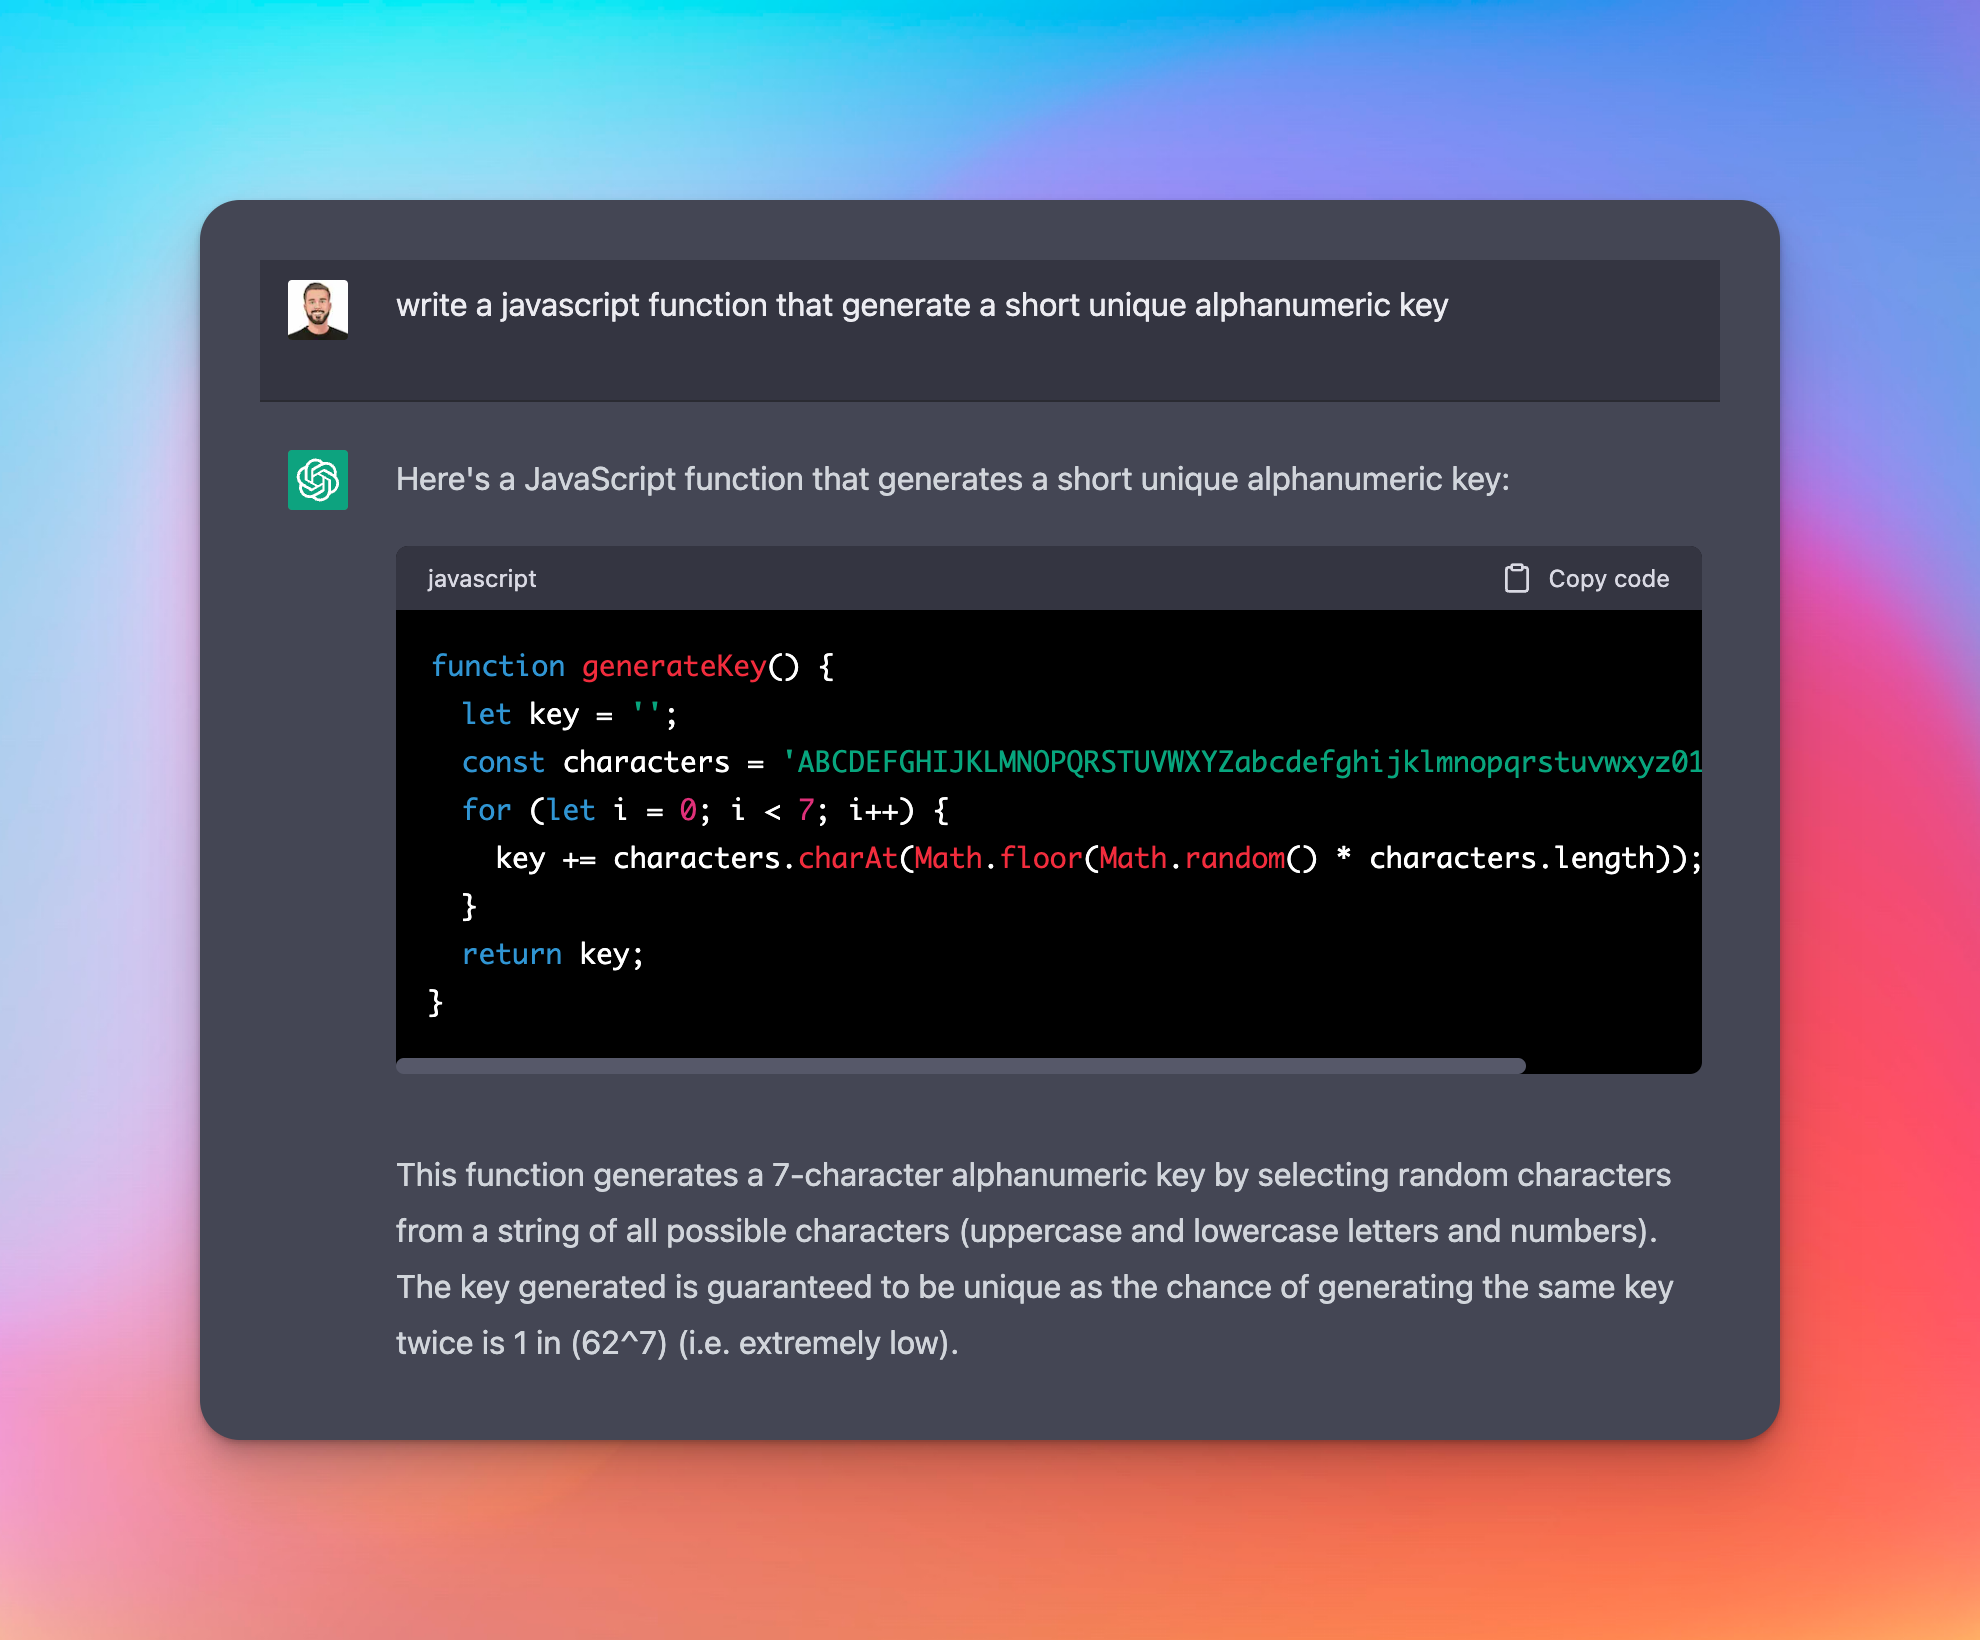
As I hadn't ingested the necessary amount of caffeine this morning, I figured why not ask ChatGPT to create a function for the short, unique key. It has become quite the handy tool for tasks like this. (Similarly, you could suggest GitHub Copilot as well)

I extended the function slightly to include a length of the key, in case for whatever reason I wanted that to be dynamic:
function generateKey(length: number = 5) {
  let key = ''
  const characters =
    'ABCDEFGHIJKLMNOPQRSTUVWXYZabcdefghijklmnopqrstuvwxyz0123456789'
  for (let i = 0; i <= length; i++) {
    key += characters.charAt(Math.floor(Math.random() * characters.length))
  }
  return key
}
Upstash
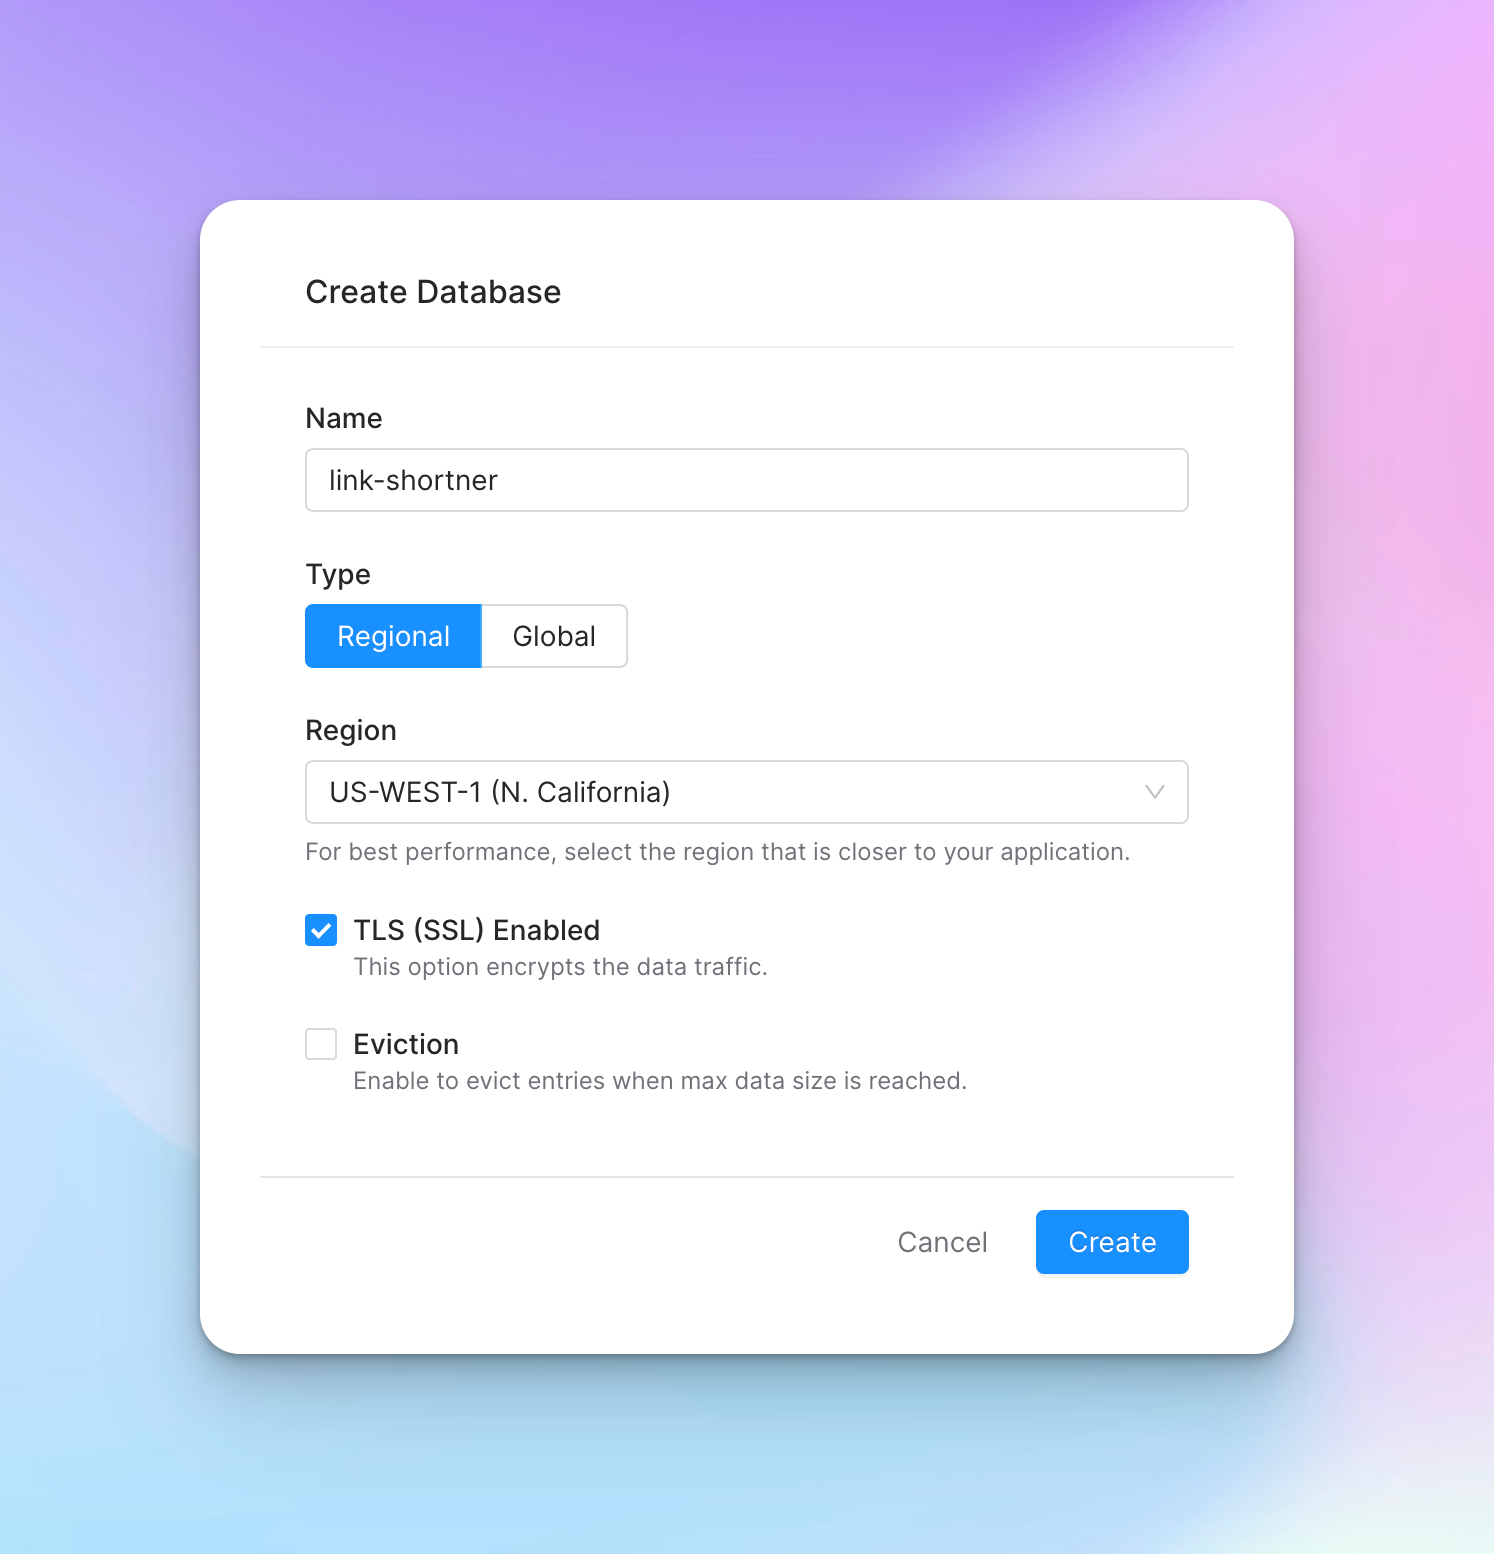
In order to proceed, you will need to create an Upstash account and create a Redis database. This was surprisingly easy.

Once you do this, you will land on their dashboard where you will see a connection string that looks something like:
const Redis = require('ioredis')

let client = new Redis(
  'rediss://default:**********@**********.upstash.io:33746'
)
This is using iosredis as the Redis client. You will install this with a yarn add iosredis. After doing that, copy the connection string (what looks like rediss://) and put it in your .env.local file under UPSTASH_CONNECTION_URL. Your .env.local should now look something like:
UPSTASH_CONNECTION_URL="rediss://default:**********@**********.upstash.io:33746"
In order to keep things separated and clean, I went ahead and created a redis.ts file which will be used to house the redisClient.
We can now take a look at what the Next.js API handler looks like for this generate function:
export default async function handler(
  req: NextApiRequest,
  res: NextApiResponse
) {
  const body = JSON.parse(req.body)
  const urlToShorten = body.link

  if (!urlToShorten)
    return res.status(400).json({ message: 'You must pass a link to shorten' })

  // Generate a shortened path
  const shortenedPath = generateKey()

  // Set this in Upstash redis
  await redisClient.set(shortenedPath, urlToShorten)

  // Return full url
  const link = `${
    process.env.PUBLIC_DOMAIN ?? 'localhost:3000'
  }/${shortenedPath}`
  return res.status(200).json({ link })
}
Let's walk through the steps once more:
- Fetch the passed url from the
req.body - If nothing was passed, return an error
- Generate a shortened key (this is what will be used as the key in Upstash as well as what is used in the shortened url)
- Store the shortened key alongside the passed url
- Return the new shortened link (if you plan to deploy, make sure you set
PUBLIC_DOMAINenvironment variable or useVERCEL_URL)
Last but not least - redirects
By this point, you are able to pass a long url to the backend, it will generate a short key, store those both in redis and return a fully shortened url. While this is awesome, we still have one more step. We need to be able to properly navigate to the desired url when someone visits the short link.
To do this, we will create one more Next.js page that captures all other routes outside of home. All the magic happens in getServerSideProps. When this route it called we will check if Upstash has this key stored, if so, redirect, else navigate back to home. The code looks something like:
export const getServerSideProps: GetServerSideProps = async (context) => {
  const query = context.query.shortId

  // If we don't have the shortId redirect home
  if (!query) {
    return {
      redirect: {
        destination: '/',
        permanent: true,
      },
    }
  }

  // Fetch the short id from upstash
  const res = await redisClient.get(query)

  // If we have something - redirect to the page
  if (res) {
    return {
      redirect: {
        destination: res,
        permanent: true,
      },
    }
  }

  return {
    redirect: {
      destination: '/',
      permanent: true,
    },
  }
}
Now if you navigate to a link like link.roo.app/upyU9H it will pull upyU9H from the query, search for it in Redis and if it finds a match, redirect.

Hopefully, this demo has given some insight on how I build some of these weekend projects. Feel free to checkout more articles