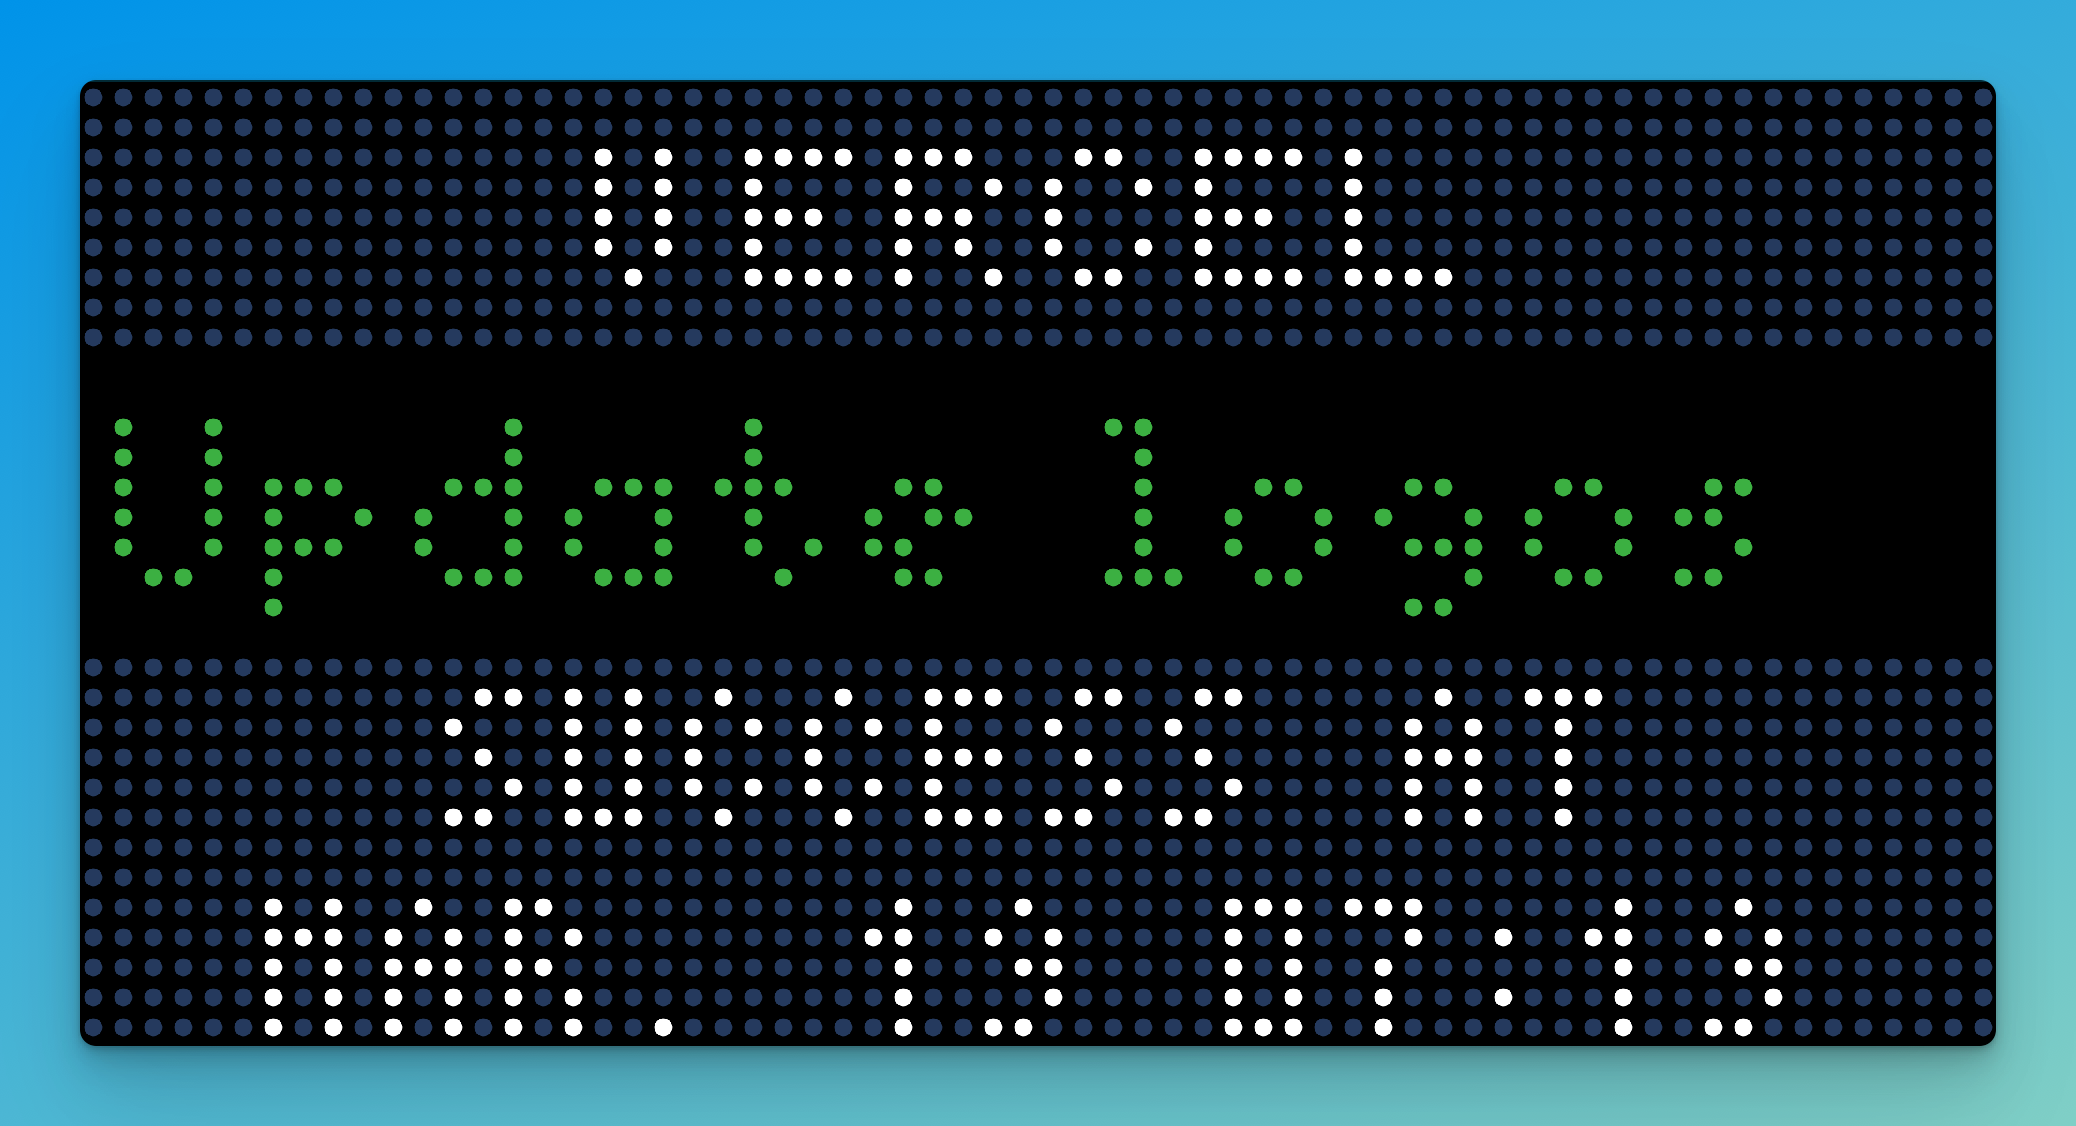
Developing a Tidbyt app to monitor Vercel deployments

You can see the apps source code here.
Over the past several months I had a lingering desire to purchase some sort of mini-display that I could put on my desk and have it show a rotating collection of useful information. This idea stemmed from when I was at a local bar that had one of those big rotating letter boards that showed the current flight that was landing overhead. It was so fascinating to me to watch this board update in real time. As I began to Google for a similar product, I found that these were in fact not cheap!
I believe big brother was listening, because from then on, I was receiving multiple ads on social media for products similar to that. Fortunately for me, I didn't end up purchasing one of the more expensive options and actually stubmled across Tidbyt. It certainly took a few ads for me to finally click in and see what it was all about. To my surprise, it was rather affordable and it seemed to have a recently released developer SDK. I clicked purchase and started reading the docs!
Overall, I was pretty impressed with the developer experience for how new it was. Their Pixlet CLI seemed pretty robust and was able to get me up and running with my forked version of their community repo.
The idea
After ordering, I needed to think of an idea that I would like to see rotating on my desk. You would think that I'd have several of these as I was fantasizing about a product like this for the past 6 months. The first thing that came to mind was being able to closely monitor the success, or failure, of my Vercel builds. I knew Vercel exposed an API to show this information, so it seemed like a perfect project to start with.
Starlark
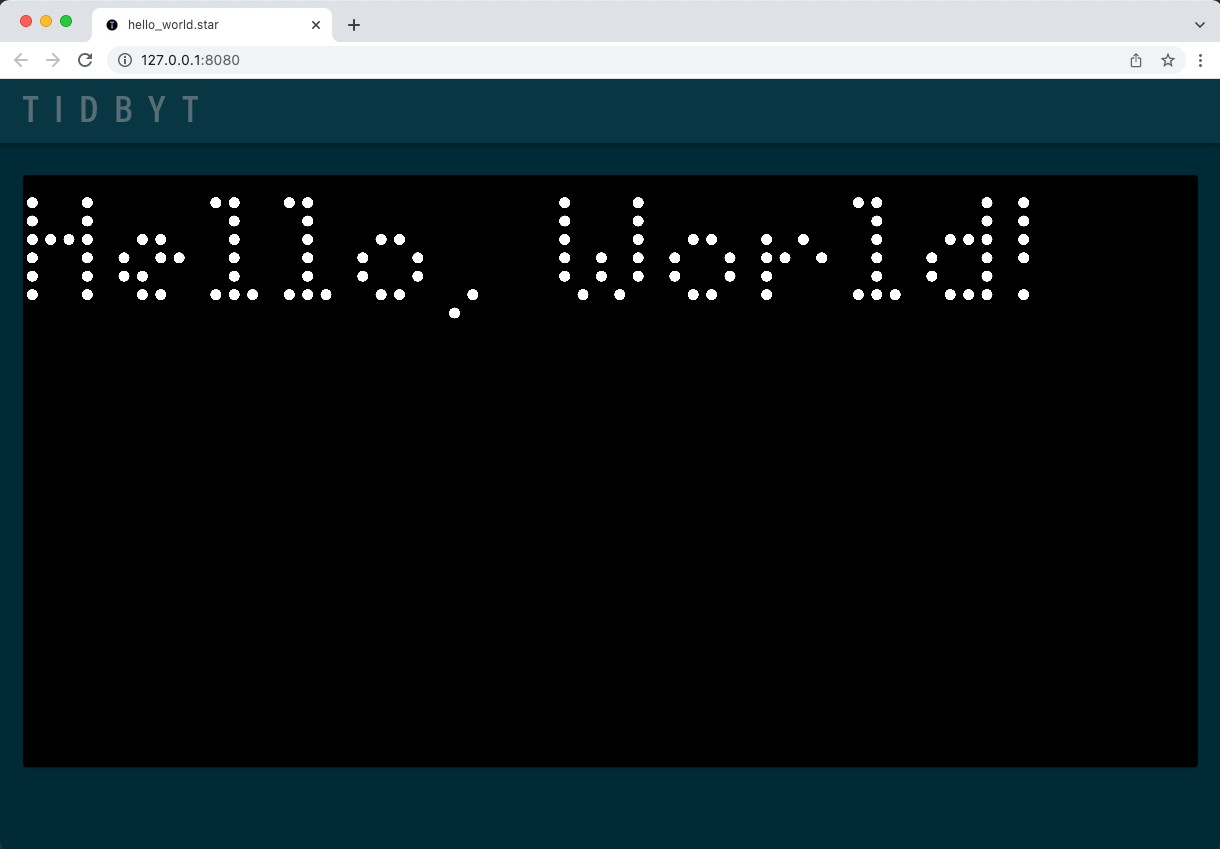
First thing you will notice is the language that everything is written in, Starlark. Before interacting with Tidbyt, I actually had never even heard of this language. It resembles Python in several ways. After creating an app with the Pixlet CLI, it starts you off with a simple Hello, World! application like so:
load("render.star", "render")

def main():
    return render.Root(
        child = render.Text("Hello, World!")
    )
All UI is "rendered" by utilizing the render.star package. It has some basic building blocks such as Text, Column, Row, Box, Marquee, etc. to help you build your experience.
One of the frustrations I had as I started to build out the experience was the lack of supported syntax highlighters / intellisence plugins for Starlark. I am currently using vscode-starlark but the reviews are not that great and I've noticed that it seems to have some broken python scripts that seem to constantly be initializing.
Once you have the code, you can spin up a hot-reload server via the pixlet serve CLI command:

Considering at the time of writing this article, I have yet to received my physical Tidbyt, I was pleasantly surprised that I was able to developer a full application without having one on hand. I think that was the greatest surprise with the DX.
Schema & Accessing user input
Now that we have the example app up and running, it's time to start plugging away. First and foremost, we would certainly need to grab a Vercel access token. Considering we will need to have the application utilize this token, we will need to have the user pass it in. Pixlet has the notion of passing in a config into the main function which can store some user fed variables from the schema. The schema is defined like the following:
def get_schema():

    return schema.Schema(
        version = "1",
        fields = [
            schema.Text(
                id = CONFIG_API_KEY,
                name = "API Key",
                desc = "Your Vercel API key generated via the Vercel dashboard",
                icon = "key",
            ),
        ],
    )
Now, we can access the API key via the config in the main function like so:
def main(config):
    apikey = config.str(CONFIG_API_KEY)
You would continue with this pattern for as many schema values as your application needs. For this demo, we will only use API key.
Networking
Now that we have access to the users Vercel access token, we can start making request to the Vercel API. Using the included http framework, we can simply make a GET:
rep = http.get(
    "https://api.vercel.com/v6/deployments",
    headers = {"Authorization": "Bearer " + apikey, "Accept": "application/json"},
)
It's as easy as that... in the next section we will talk about an important piece closely tied to networking: Caching.
Caching
While in theory we could simply begin making the network calls, we could obviously run into some issues such as excesive network chatter. Fortunately, Tidbyt has a really simply caching mechanism. One very key note about the caching framework: the cache is scoped to your application but not per user. So if you store something in the chache under a key such as network-response, all users will have that same value returned when fetching it. If you need to store something user specific, you will need to add some sort of unique identifier like so: network-response-123 where 123 is say the users identifier. You can read more about caching here.
After receiving a response from the Vercel API, we will go ahead and add it to the cache:
cache.set(formattedCacheKey, json.encode(data), ttl_seconds = 240)
The awesome part of the cache is it has built in TTL (time-to-live). After 240 seconds, the cache expires and when you fetch it again it will not be available. Now we can look at the entire networking portion, including caching:
cached_data = cache.get(formattedCacheKey)

# Check for cached data
if cached_data != None:
    print("Hit! Displaying cached data.")
    data = json.decode(cached_data)
else:
    print("Miss cache! Calling Vercel")
    rep = http.get(
        "https://api.vercel.com/v6/deployments",
        headers = {"Authorization": "Bearer " + apikey, "Accept": "application/json"},
    )

    # Ensure valid response
    if rep.status_code != 200:
        return render.Root(
            child = twoLine("Vercel Error", "Status: " + str(rep.status_code)),
        )

    data = rep.json()

    # Update cache
    cache.set(formattedCacheKey, json.encode(data), ttl_seconds = 240)
UI
Now all that remains is... putting data on the display! Unfortunately, there really isn't a great way to learn this other than practicing. It's a sort of nested declerative syntax that you can build interesting UI's with simple things such as Rows, Columns, Box's, etc. The one thing I have not taken a look at is animations, but plan to do so sometime in the future.
Summary
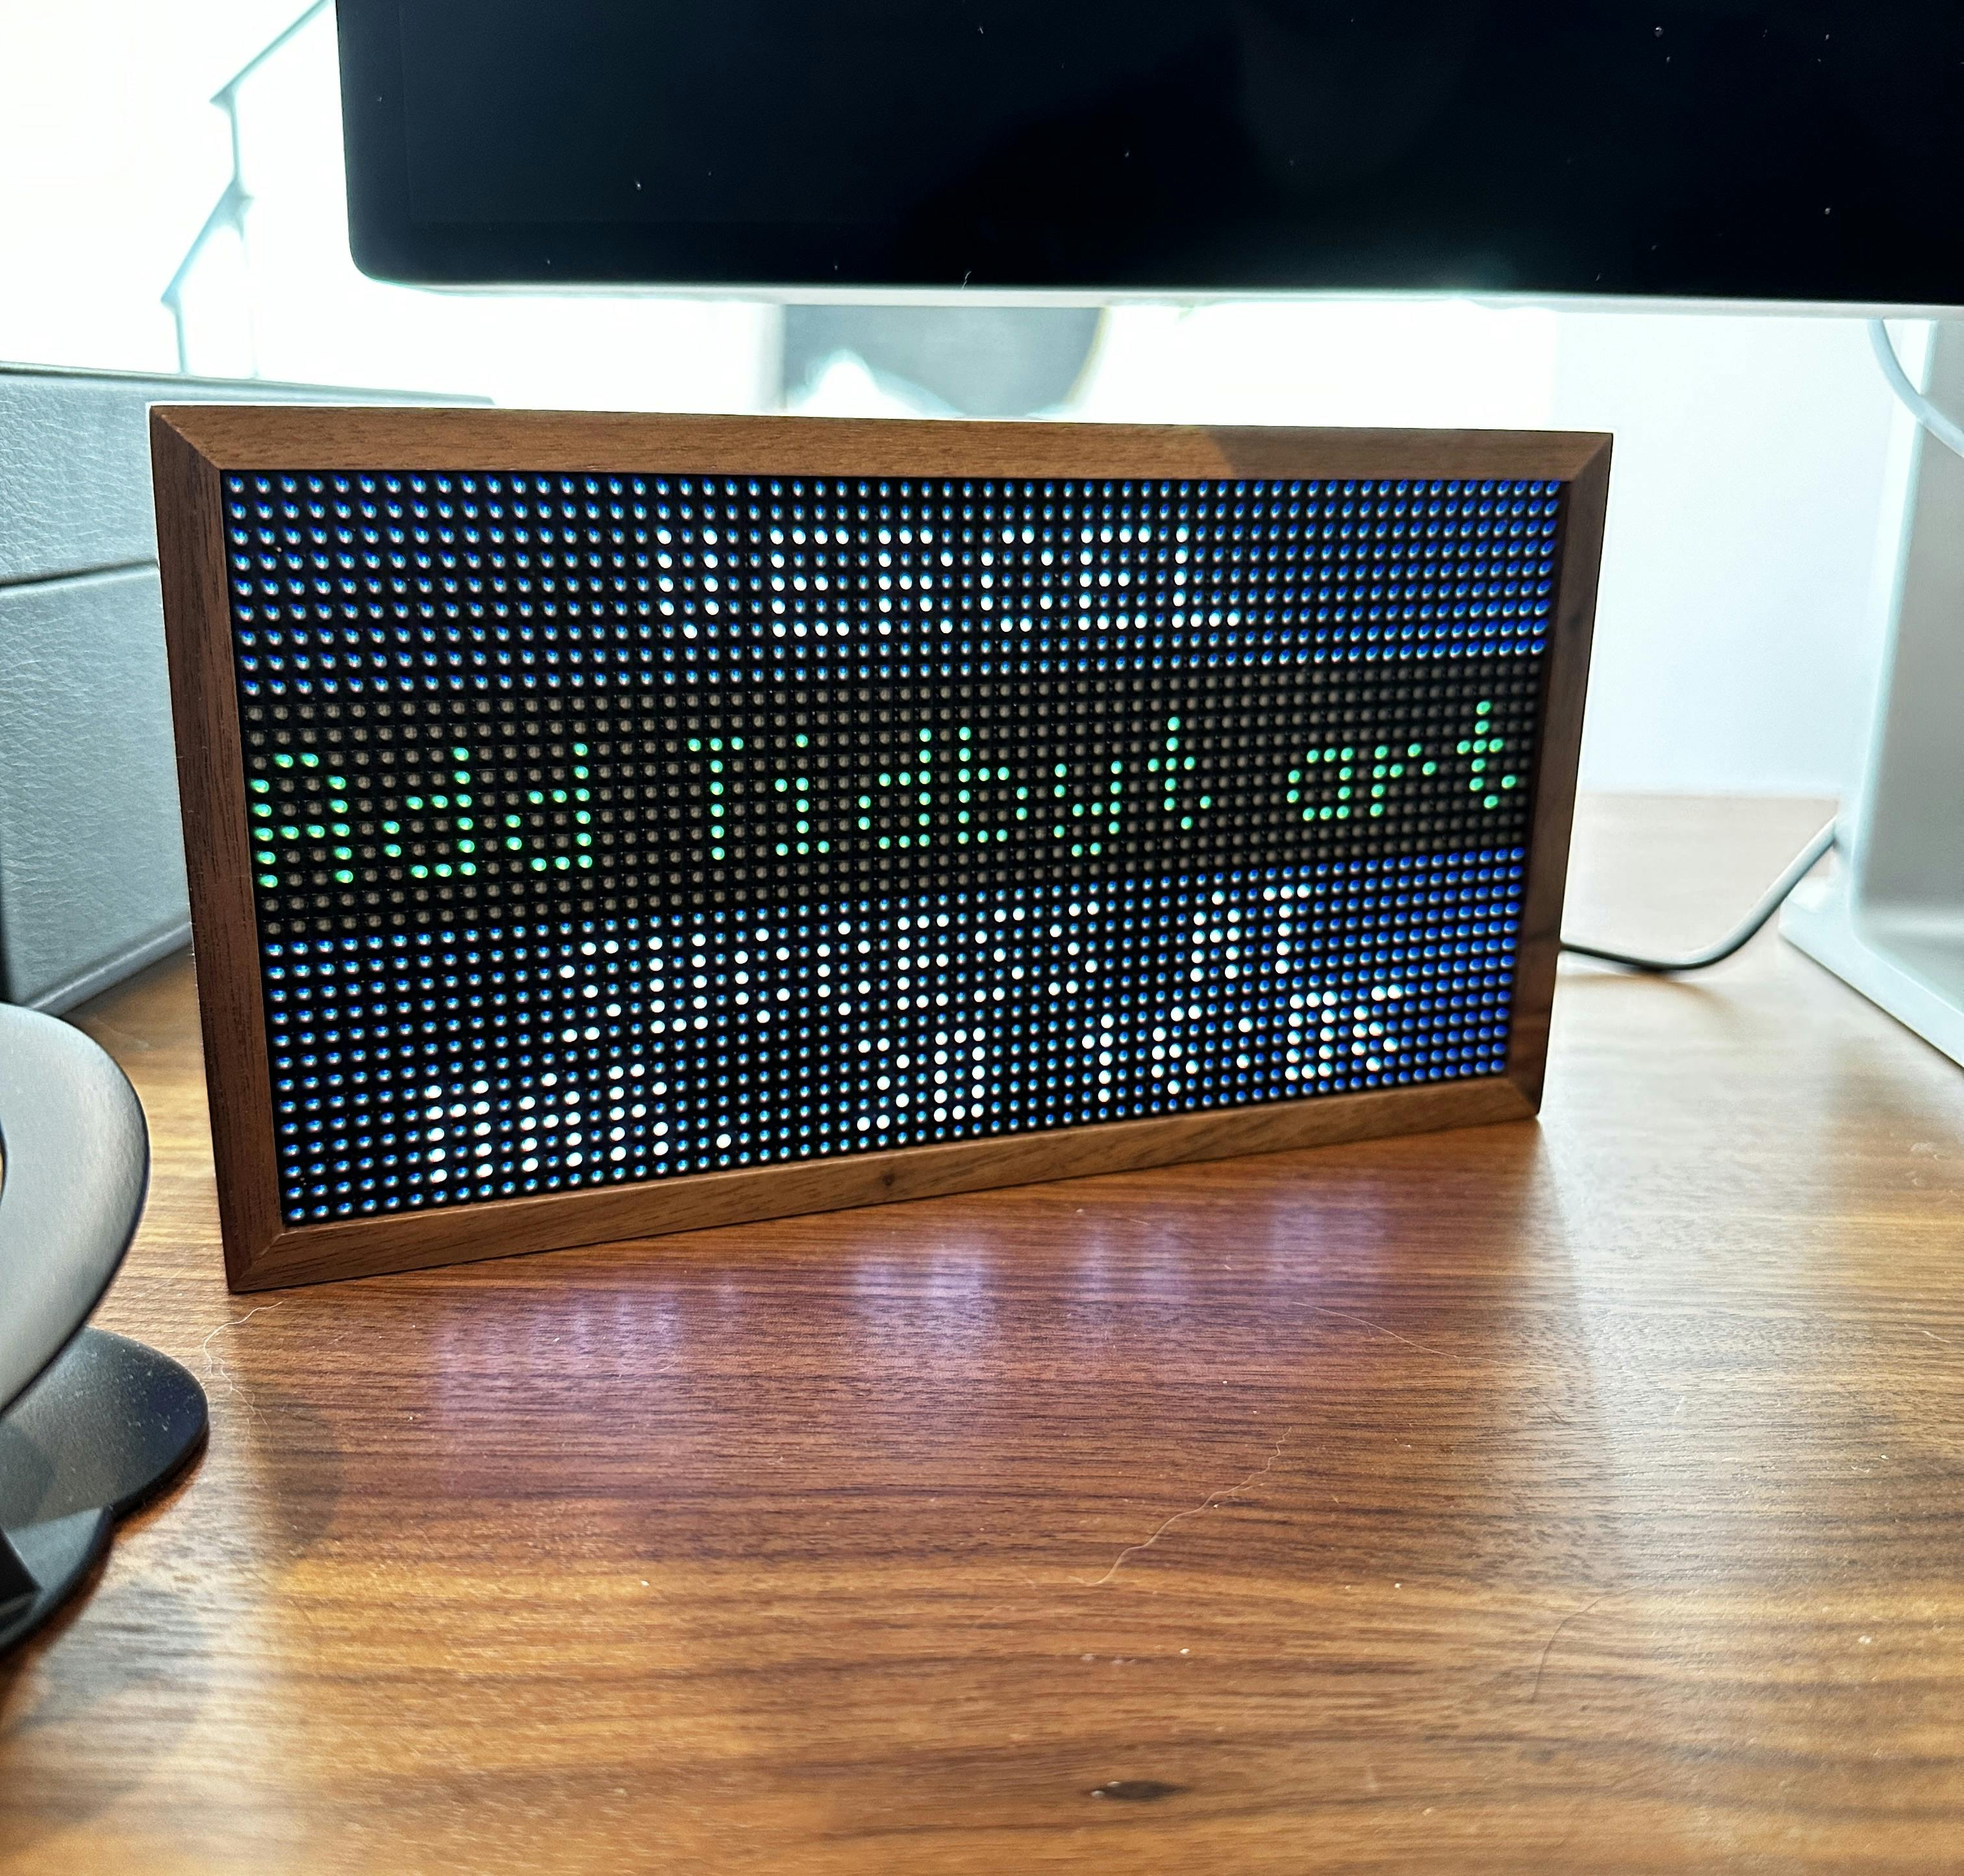
In sum, I was shocked that I was able to get a PR up within a handful of hours of learning about what a Tidbyt was! The app is now merged in and ready to be consumed. I am supposed to receive my Tidbyt in the next 2-3 days so we will see how it looks on device soon enough!
