Rate-limiting, the easy way

Implement rate limiting before you finish your coffee?
Rate-limiting is a crucial part of handling large swaths of traffic. Whether you want to protect your system from malicious actors or if you simply want to control usage, rate-limiting is a key way to ensure that usage doesn't spin out of control.
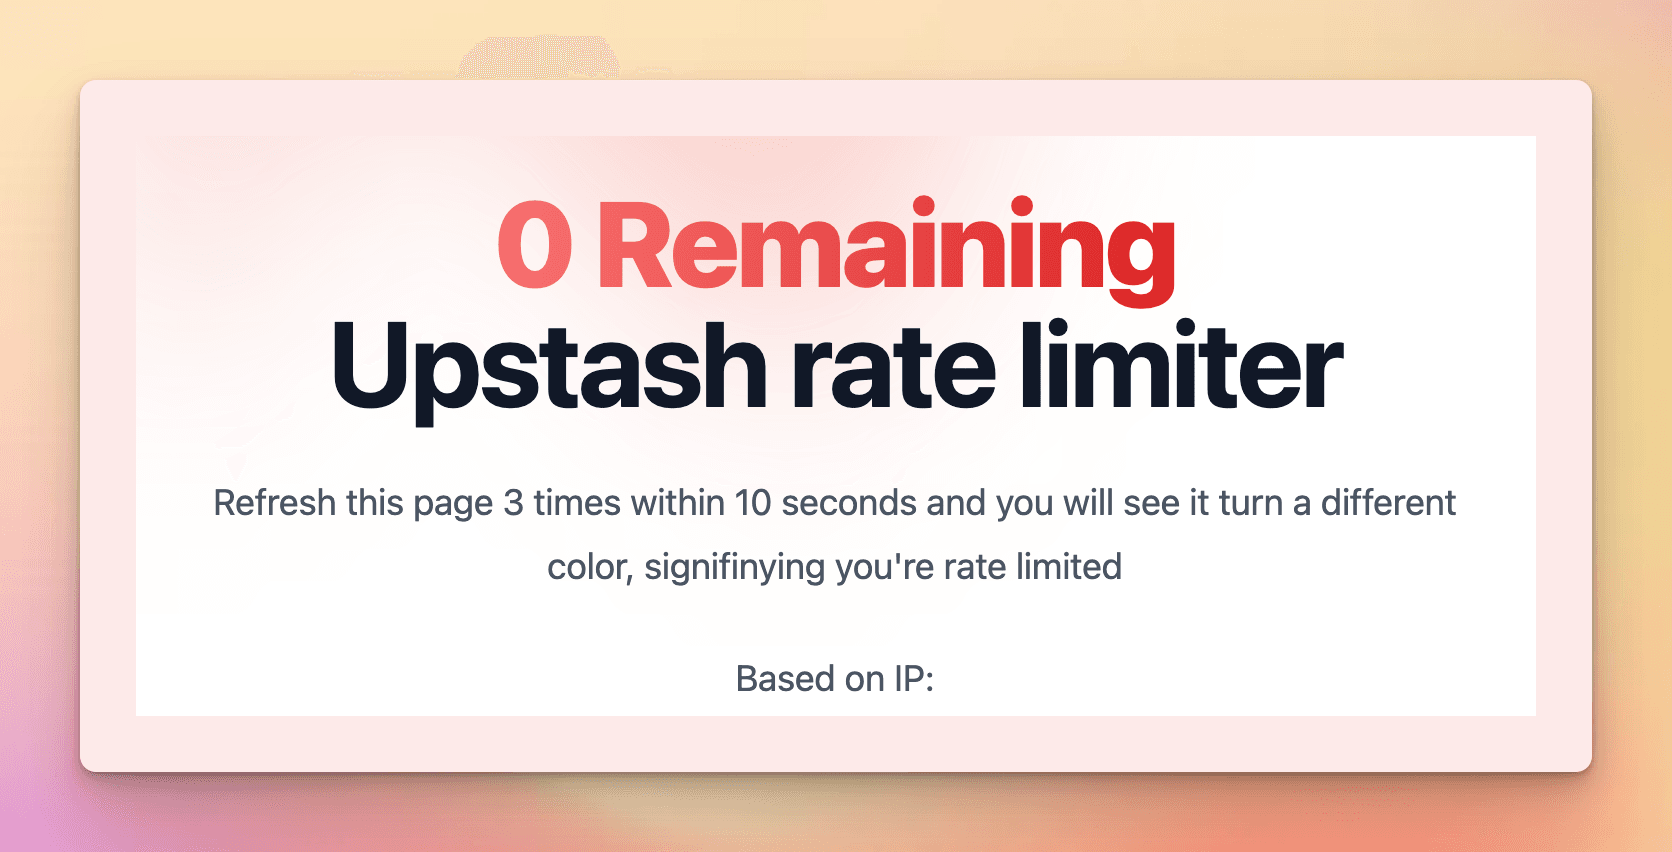
In this simple tutorial, we are going to have a home page that will check your IP, and determine if you should be rate-limited.
Set up Upstash
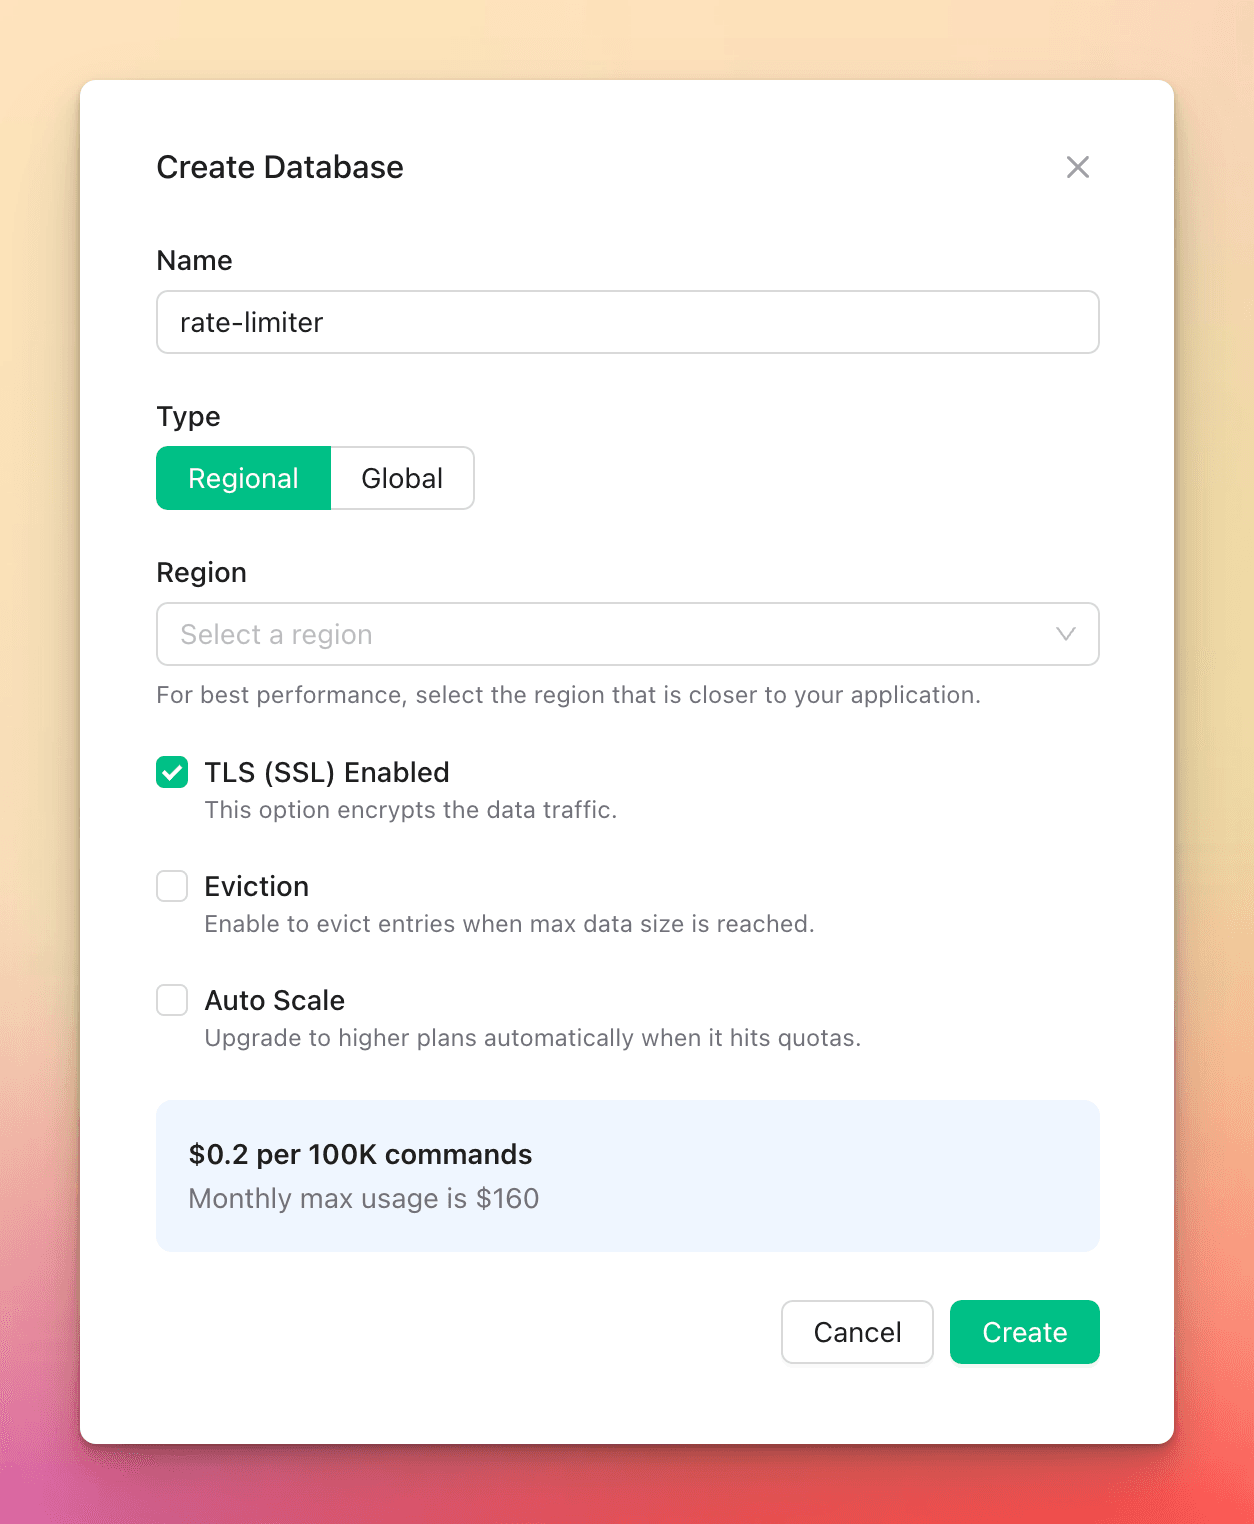
First things, first. We need to set up an Upstash Redis DB.

Next, let's install our primary Upstash packages.
yarn add @upstash/redis @upstash/ratelimit
Now, we're ready to go ahead and create our .env.local file to add our Upstash environment variables:
UPSTASH_REDIS_REST_URL="https://<YOUR_UPSTASH_URL>.upstash.io"
UPSTASH_REDIS_REST_TOKEN="<YOUR_UPSTASH_TOKEN>"
Make sure to key them UPSTASH_REDIS_REST_URL and UPSTASH_REDIS_REST_TOKEN considering the following code explicitly looks for those keys.
Now, we want to create our rateLimiter - which you can find an example of here
import { Ratelimit } from '@upstash/ratelimit'
import { Redis } from '@upstash/redis'

export const ratelimiter = new Ratelimit({
  redis: Redis.fromEnv(),
  limiter: Ratelimit.slidingWindow(4, '10 s'),
  analytics: true,
})
As you can see Redis.fromEnv() is what is looking for those explicit UPSTASH_* environment variables.
The key part of the RateLimiter is this line:
limiter: Ratelimit.slidingWindow(4, '10 s')
It says that it will only allow 4 requests in a 10 second window.
Now, we implement
As this use case is rather simple, it doesn't have many moving pieces. That being said, you should be able to easily tailor this to your requirements. For our example, we will simply limit in getServerSideProps on the home page, passing in the users IP address:
export const getServerSideProps: GetServerSideProps = async ({ req }) => {
  try {
    const forwarded = req.headers['x-forwarded-for']

    const ip =
      typeof forwarded === 'string'
        ? forwarded.split(/, /)[0]
        : req.socket.remoteAddress

    const { success, remaining } = await ratelimiter.limit(ip!)

    return {
      props: {
        limited: !success,
        ip: ip,
        remaining,
      },
    }
  } catch (error) {
    return {
      props: {
        limited: false,
      },
    }
  }
}
They key here is the following:
const { success, remaining } = await ratelimiter.limit(ip!)
As mentioned before, for this demo we are passing in the users IP address. This could very easily be something else identifiable like their userId or email. The response object contains success, remaining, and other useful values. For this demo, we deconstruct and use only those two values and then pass them in as props to the page.
Voila!
That's it. You've add rate-limiting to your app. If success you can allow them "through", else, deny access!